Pet project: Creating a fully automated Youtube fishtank livestream using a Raspberry Pi (Part II)

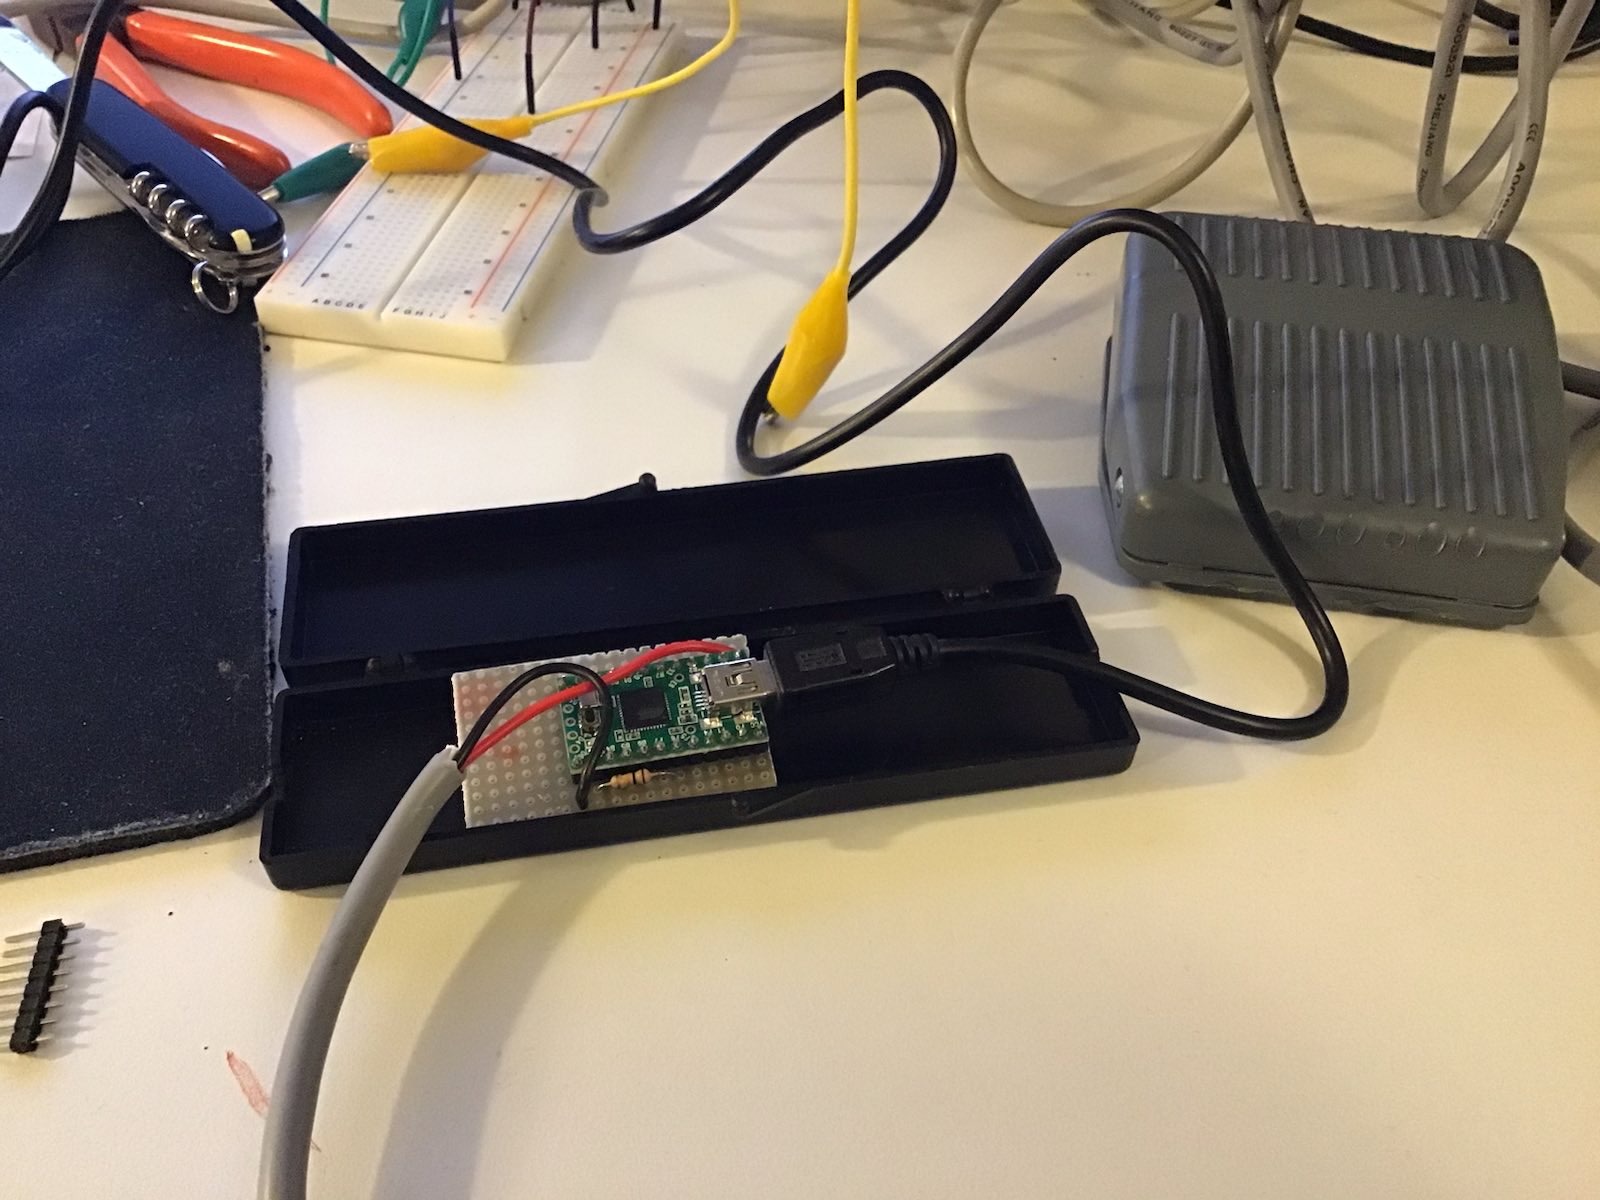
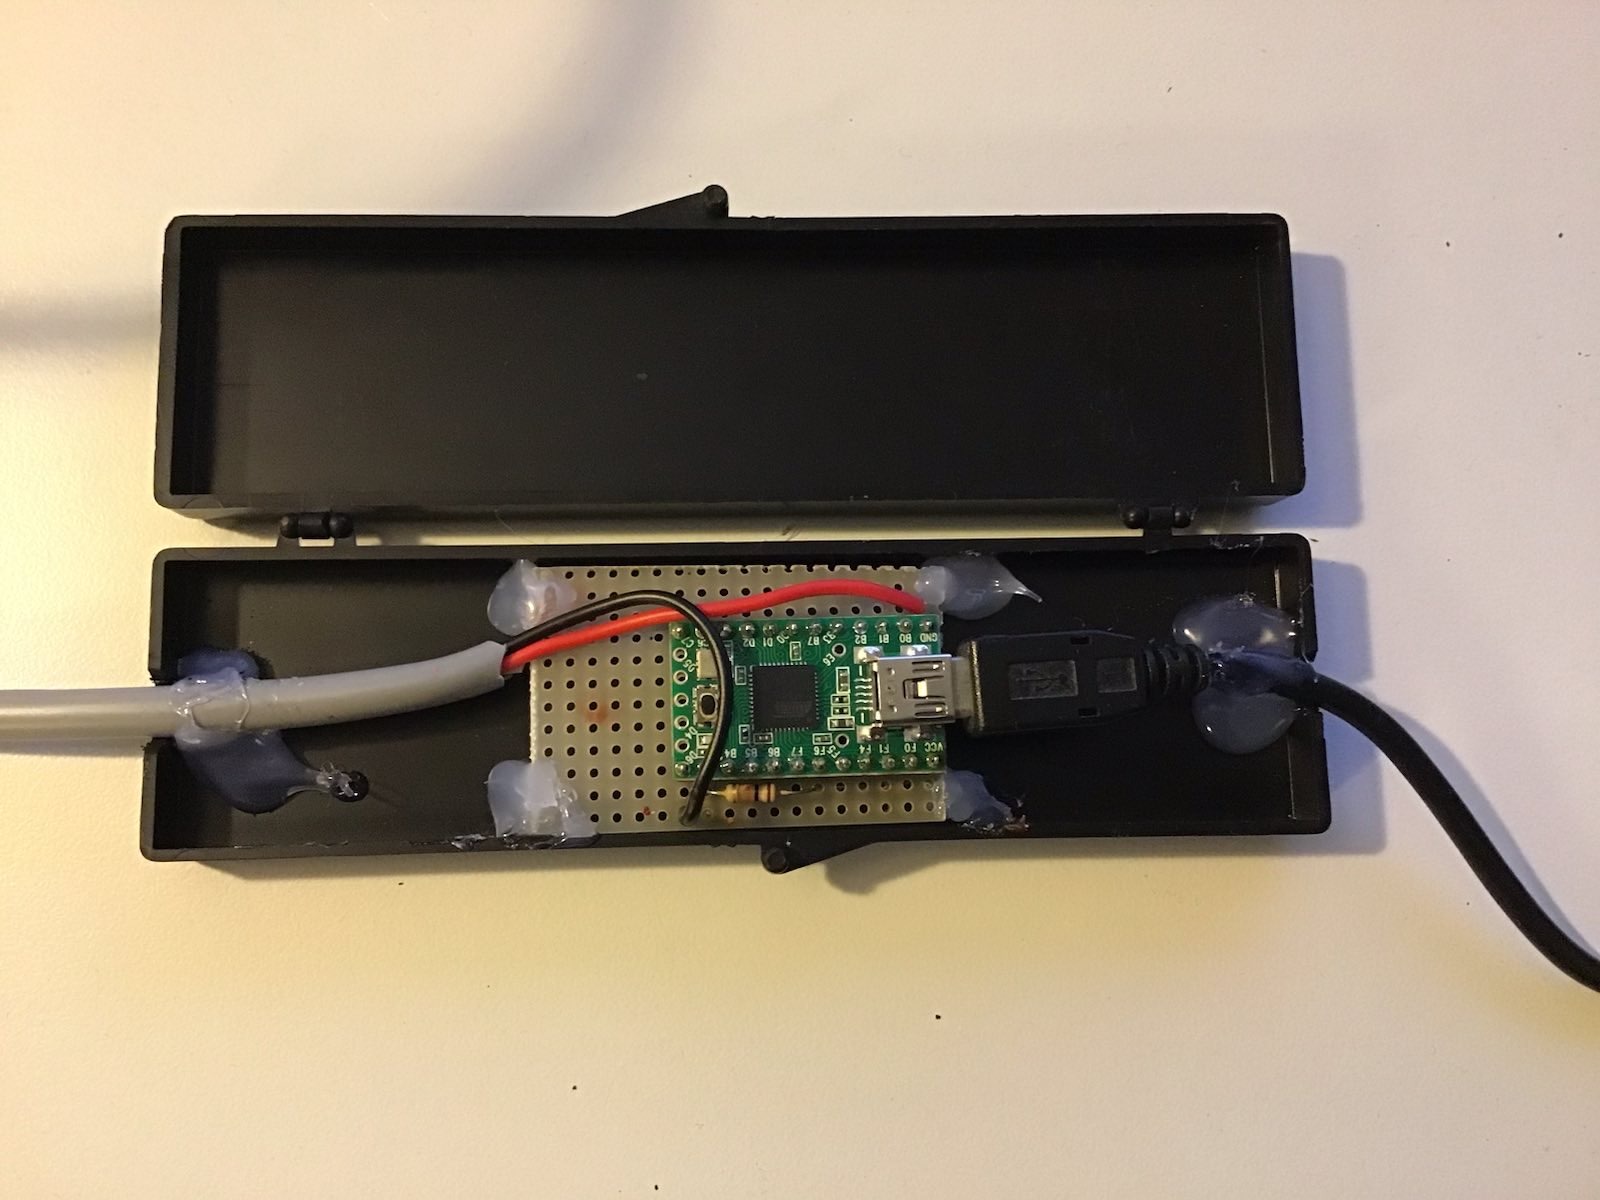
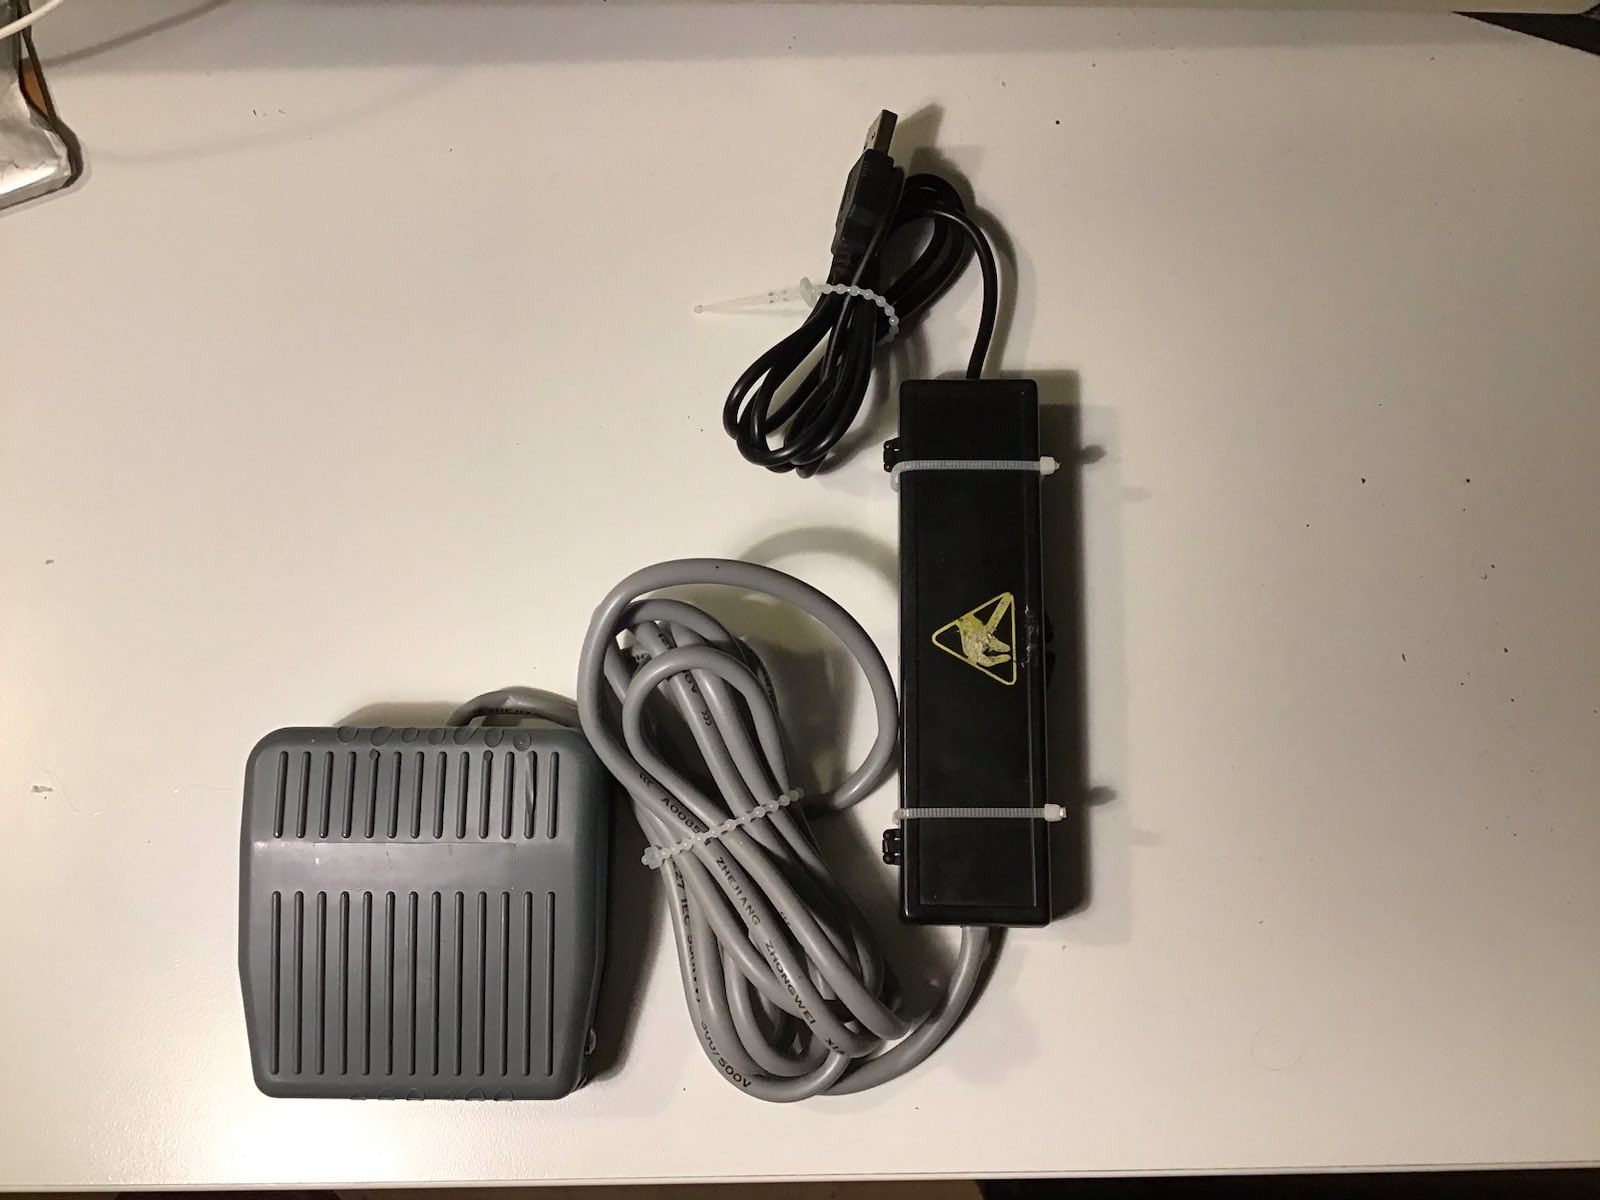
This is the second part of my series of blog posts around creating a fully automated Youtube livestreaming solution for my fishtank using a Raspberry Pi. For an introduction to the topic, my requirements for the project and the general direction I am heading to with my solution, read the first part of this series. In this part I wrote about the equipment we need for this pet project of mine and the overall (financial) costs of getting this to running.


In today's blog post I want to give a little background around the overall concepts that we will encounter once we start dealing with the YouTube live streaming application programming interfaces (APIs) as well as preparatory tasks that we need to perform in order to get an automated live stream running.


If you want to follow along in this blog post series, from now on you will need some basic knowledge about trust and it is also advantageous to have some understanding of unixish shell programming and python scripting, although everything can be learned on-the-fly, if you are just brave enough.

In order to reiterate some basics from the first blog post in this series: Our goal is to stream the video material that an endoscope attached via USB to a Raspberry Pi 4 produces to a YouTube channel as a livestream. The livestream is intended to run fully automated for 12 hours each day and should start at a specified time each morning without any manual intervention. So what you need first is a YouTube channel, in case you do not already have one.  We are also running Raspbian on our Pi, which is a Linux distribution, and we have to find a match for the programming language that we can use on Linux with the ones that the YouTube livestreaming API offers. The most natural choice for this is Python, and it seems like everyone else dealing with live streaming is also using Python, so we stick with that. And still then: What program can we use to actually produce video from our endoscope camera? Plugging a USB device into a Pi does not yet produce a video in itself. That program that does all this is ffmpeg, the swiss army knife for all things video streaming, which is part of any decent Linux distribution and we have to install ffmpeg on our Pi. But then: Once we have our workhorse running and producing a video stream, how do we connect this piece of hardware and its satellite software to our YouTube channel, how do we authenticate against YouTube and upload the material to our channel? Do we ...gasp... authenticate with our YouTube credentials from within our python scripting or what?


There is simply no progress in science without decent literature, and it is none the different in our case. I was kidding, there is no specific literature on our topic and we have to resort to intensive googling. The most instructive article on how to get a YouTube livestream running is this one (Click here for a snapshot from archive.org in case this link is going to be dead some day). This article has a pretty good description of what you have to do in preparation prior to running the livestream in order to get all authentication information that is required for unattended operation of your livestream. Essentially it shows how to create a project/application in the Google API Console which is nothing else than getting authentication material, first in the form of obtaining a client secrets file which is then converted to a refresh token for daily use. The part to get the client secret and the initial refresh token is something that I did on my windows PC, not on the Pi, exactly as described in this article.


Having the refresh token (which is supposed to be refreshed - automatically - from time to time, hence its name) is an essential part of automated authentication against YouTube. What you essentially do using the steps described in this article within the Google API console is transferring trust from you, the owner of a YouTube channel, to an application via authentication data created from a one-time secret. From this point on it is your responsibility to protect this authentication data from misuse by others by keeping your application and associated authentication data secure and under your control. Anyone with access to this authentication data has the ability to upload or delete content from the YouTube channel where this authentication data originated from. In my case it is this refresh token that is kept as a file on the filesystem of my Pi where only root has read/write access. The Pi is physically located in my home and protected from physical theft the way all my property is protected in my home: with a locked entry door. None of my networked devices at home receive inbound connections from the internet as would be the case if I had set up my own streaming server behind a publicly accessible IP address. So my YouTube channel is as secure as my home is physically secure after creating the client secret and converting it to a refresh token, as described in great detail on this page.


This article also has an example on how to call the liveBroadcasts.insert API to create a new broadcast for your channel, but it falls short to describe the other moving parts behind the YouTube livestreaming API and how they interact with each other, namely the association between a broadcast and a stream. Using the python code from this article will create a broadcast for you which you can inspect and monitor using the YouTube dashboard, but as it is, this script will always create a broadcast that is bound to the default stream of your dashboard's livestream overview page. It took me a long time to figure this out, and its consequence is that you always have to start your livestream from within the YouTube dashboard by virtue of clicking on the "Go live" button. Doing this requires an interactive login into your YouTube dashboard using your favorite internet browser each time your otherwise fully automated livestream is sending data. Aarggghhh, this is not exactly fully automated and we are back at square one.  At this time, it is the concept of streams that we are missing from the big picture. The next part of this blog post series will be my attempt to describe the relationship between broadcasts and streams they way I perceive it.

Pet project: Creating a fully automated Youtube fishtank livestream using a Raspberry Pi (Part I)

Since now a bit more than 2 years my home has a number of pets that make life a bit more colorful: They dwell in a decent sized fishtank with a capacity of 240l. And almost as long I had the crazy idea of being able to stream live video from this fishtank to the rest of the world. This is the first part of a multi-part series of blog posts that describe my setup, including the requirements list and the resulting hardware and software solution. So if you want to build your own version of a fully automated YouTube livestreaming solution or if you are just brave enough or curious how this can be done, read on:


My initial idea was to finally replace my DSL-Lite internet connection with a business connection and an associated public IP address that I could use to run a world-accessible streaming server, but that would have required a demilitarized zone and thus at least two routers and complicated setup so I abandoned this idea, but only after months of thinking about it.


Tired of wasting time and thoughts on an impractical solution, I turned my attention to the YouTube live streaming services, and since I have my own (mostly irrelevant for most purposes) YouTube channel already since 2007, I wanted to find out if this could be a suitable platform for my requirements. It was the beginning of an interesting journey.


My requirements for fishtank livestreaming were the following:

  • it should be affordable, something along the lines of 100 Euros should not be exceeded for all of the equipment
  • it should run with minimum power consumption, as it is supposed to run headless and unattended in a  24/7/365 fashion
  • the camera that records the video stream should not be mounted at the outside of the fishtank, a waterproof camera that can be fully submerged in the fishtank is an absolute requirement
  • it should be running fully automated, no manual intervention should be required for a live stream to be broadcast
  • the live stream should not negatively impact the performance of my internet connection which only has an upstream rate of ~11 Mbit/s


 Affordability

Two pieces of hardware are required at the very least for a livestreaming solution: A computer with decent encoding capabilities and a camera. Since I have a Raspberry Pi 4 running my private subversion repository, this computer became the natural choice as the encoding platform. However, this choice introduced a new requirement for the overall solution:

  • The Pi should still be able to fulfill its role as my subversion server, overburdening its 4 cores with video encoding is not acceptable


The Raspberry Pi 4 model is currently listed with a price of ~38 Euros for the 1GB variant, so this should be well within our budget. My Raspberry Pi is an 8GB model, but I am pretty sure the whole shebang also runs with the 1GB variant, memory is not a bottleneck for the problem at hand. In addition, a power supply for the Pi is needed, the official power supply from the Raspberry Pi Foundation has a price of ~8 Euros. Add a decent case for the Pi to it which is at about 5 to 10 Euros, so we are at 56 Euros in total now. The only solution for a camera that is waterproof remains to be an endoscope camera. Endoscope cameras are readily available on the internet for small money, prices are starting at around 15 Euros. But beware: Most endoscope cameras are only rated with IP67 (see here for IP codes). That means they are dustproof, but not fully waterproof. What you really want is an endoscope rated with IP68 (dustproof and waterproof). Luckily, I was able to find an endoscope with the brand name "Lychee Wifi Endoscope Inspection Camera" on Amazon which purportedly is IP68 (keep your fingers crossed!). I wasn't so sure if this piece of hardware would be suitable for my purposes, because it actually is a Wifi based endoscope solution, but it was the only affordable IP68 endoscope I could find: ~35 Euros - so I purchased it. To my surprise this piece of gear is actually a USB endoscope with an additional small box that implements a Wifi access point and where the endoscope's USB connection is supposed to be plugged in. Instead of using this box I quickly attached the endoscope's USB connector to my windows machine on my desk and  it not only was immediately recognized as a hardware camera, it even produced live video! But all of this would not be worth a penny if the Raspbian distribution running on my Pi would not be able to use this camera. To my great satisfaction, it worked like a charm.


The following picture shows the endoscope mounted with a wirestrap to a suction cup inside the fishtank:


The endoscope mounted to a suction cup


We are now at 91 Euros of investment in hardware, not included shipping and packaging costs, but this is all well around the envisioned maximum budget of 100 Euros. If you want to make life easier for you and if your YouTube streaming Pi is located nearby a switch or a router as in my case, you might want to consider adding another 2 Euros to the overall cost for a network cable, otherwise you will have to configure the Pi's Wifi connection to connect to your home router.


Power consumption

The Raspberry Pi 4 has an idle power consumption of 3W. Under maximum load with all cores at 100%, it can draw up to 7W roughly. Since my plans are anyway to not overburden my Pi, as it still has to serve other useful purposes, I would guess that the average power consumption of it during the hours it is streaming to YouTube is something around 5W. It just makes no sense to stream a dark fishtank at night to YouTube, so during the 12h per day that the Pi is not streaming, we have idle power consumption. I think it does not get much better than that.


Conclusion

This is the first part of a series of blog posts on how to build your own fully automated YouTube live streaming solution. In the next installment I will focus on the software side of the project which turned out to be the most time-intensive part of my tiny little pet project. What we can see at this point, however, is that hardware cost/availability/compatibility/feasibility is definitely not going to be the party pooper.

Salvaging a broken KVM switch using a Teensy device


...or: what to do on new year's eve afternoon?

In the days after Christmas of 2023 I finally managed to reorganize my home office setup into a decent workplace environment. This in itself might be worth a blog post. While doing this, something really bad happened: I broke one of my KVM switches by accident. My working environment employs two KVM switches with each connected to one monitor, and a total of 6 computers that are somehow connected to these KVMs. One KVM switch, which is not the one I destroyed, is an 8 port switch with analog video signal (i.e. VGA) which all of those 6 machines are using for analog video output. This KVM is connected to one of my two workplace monitors via VGA. The other one (the one I broke), a 4 port switch, uses digital video (i.e. DVI) and is connected to the other monitor via DVI.  So only the four most decent of those 6 computers are connected to this KVM switch, so these four out of six computers can be run in a multimonitor setup and the other two ones, which are rarely used and sort of vintage, are run in a single monitor setup using only analog video output via the 8 port switch.


So, what exactly is a KVM switch?

In case you don't know: KVM is an acronym for "Keyboard-Video-Mouse". A KVM switch is a device that allows to connect multiple computers with their video output and their keyboard and mouse input to exactly one monitor, keyboard and mouse. For a dual monitor setup, you need two KVM switches with one of them switching keyboard and mouse in addition to the video signal. KVM switches allow you to switch channels or ports so different computers attached to the switch can be made the ones whose video output is shown on the monitor and that receive keyboard or mouse input.


What has happened?

For some reason, I virtually managed to physically destroy the push buttons at the front of the 4 port KVM. Maybe the KVM was leaning with the front side turned down and too much pressure broke the push buttons. The next image shows how this KVM looks like:


The broken 4 port KVM switch

 So what can you do, if the push buttons of a KVM switch do not work anymore? I opened the case of the KVM and tried the push buttons without the case and soon realized that channels cannot be switched anymore using them, at least the push buttons for channel 1 and channel 2 were dead as nails. I reassembled the KVM and began to think: "Isn't there always a keyboard key combination that switches channels from a keyboard?". And yes Virginia, there is one for this KVM switch: You need to press Scroll Lock twice, followed by the enter key. So this shouldn't be a problem, right? Just hit Scroll Lock twice followed by the enter key once on the keyboard. Nope: My keyboard for all of those 6 machines is not connected to the 4 port switch, but instead to the 8 port switch, because otherwise the two vintage computers enjoy no keyboard support! So I quickly attached a small size USB keyboard to the 4 port switch and tried if I can use this in the interim for switching ports on the 4 port switch - and it worked. The next image shows this small keyboard hidden under one of the monitors:

The USB keyboard hidden under the analog monitor

 While this works, it is really cumbersome to always exactly hit scroll lock twice, followed by a single press of the enter key and it admittedly looks really ugly. A better solution had to be found...


Hang on, aren't there these Teensy devices and the foot pedals somewhere in a long forgotten box in a long forgotten drawer?

I remembered that something like 12 years ago or so, I bought a couple of Teensy devices and two foot pedals. At that time I used my first bunch of tablet devices running Windows 8 which I thought could make up good digital replacements for paper sheet music that I could use during rehearsals or gigs to demonstrate my uniqueness and technical avantgarde. The problem with having music sheet pages displayed on a tablet device while playing is this: You cannot switch forth and back between pages easily while using both hands to play your instrument, so my idea back then was to implement a USB keyboard with a Teensy device and two foot pedals which would send a Page-Up keystroke or a Page-Down keystroke when pressed. For some reason this project never came to life and I have long since disbanded the stupid idea of playing music from a computer screen. Paper based music sheets are so much more flexible after all.

What is a teensy device?

This is what such a teensy device looks like, in my case it is a quite out-of-date Teensy 2.0 device:

A Teensy 2.0 device

The Teensy has a mini USB port that is used both for programming it via the Arduino IDE and for its operational use when it is programmed to act as an HID (human input) device, namely as a USB keyboard. First of all I quickly soldered two pin header rows to the Teensy board in order to plug it into a breadboard, adding a 10 kOhm pull-up resistor and the foot pedal switch. This is how the breadboard design looks like:

The breadboard approach

 You can see that heavy-duty foot pedal switch to the right of the breadboard. The code I used to program the Teensy is pretty darn simple:


#include<Bounce.h>


Bounce button0 = Bounce(PIN_D7, 10);


voidsetup() {
  Serial.begin(38400);
  pinMode(PIN_D7, INPUT_PULLUP); // Pushbutton
}


voidPressScrollLock()
{
  Keyboard.press(KEY_SCROLL_LOCK);
  delay(100);
  Keyboard.release(KEY_SCROLL_LOCK);
  delay(100);
}


voidPressEnter()
{
  Keyboard.press(KEY_ENTER);
  delay(100);
  Keyboard.release(KEY_ENTER);
  delay(100);
}


voidloop() {
  // put your main code here, to run repeatedly:
  button0.update();


  if (button0.risingEdge())
  {
    Serial.println("key pressed");
    PressScrollLock();
    PressScrollLock();
    PressEnter();
  }

}

 The foot pedal switch  has its contacts closed when in its normal position, but opens the contact, if the pedal is pressed. So all the code does is detect the event when PIN_D7 is raised from GND (0V) to +5v DC via the 10 kOhm pull-up resistor and then it executes the function PressScrollLock twice and the function PressEnter once. Both functions do what their names suggest: They press and release their respective keyboard key with an arbitrary delay of 100ms inbetween. DISCLAIMER: I know I could optimize this code, it is not DRY, but that was not the point of this experiment.

Getting into production mode

Having this breadboard design was fine and after attaching it to the KVM it actually worked instantly, I could switch KVM channels via the foot pedal switch, hooray! But having a breadboard design on my desk was none the better than the interim approach using the small USB keyboard. So I quickly soldered the Teensy with its pin header rows and the pull-up resistor onto a somewhat larger hole-matrix board along with the connectors to the foot pedal. I chose an old DRAM package plastics case where everything would fit in quite neatly:

The final board with its case

 Some glueing later this piece of hardware looks like this:

The board glued into its case

Looks quite nice, doesn't it? But it only gets better: The complete device with the casing closed with the help of two wire straps looks like this:

The final product

Doesn't that look almost... professional?

 And as a final picture this one: it shows how the switch is sitting on my desk at the same position as the small USB keyboard before. Definitely an improvement and worth spending an otherwise boring new year eve's afternoon.

The working device under the analog monitor


Building OpenSSL 3.1.4 for Android with the MS Visual Studio 2022 native toolchain and cygwin

Building OpenSSL has gotten really easy these days and a lot of arcane things that I had to do to build version 1.1.x with cygwin and Visual Studio 2017 or version 1.0.2x are now a thing of the past. However, one thing I first had to do to build version  3.1.4 for android was updating cygwin to a more recent version than in the past, because  the old version I used before has some trouble using the configure script from version 3.1.x, most probably because the version of perl was too old. So I installed the most  current x64 version of cygwin at the time of writing  (3.4.9) into c:\cygwin64 and besides from a default install I added the following components  to the install:

automake, patch, perl, dos2unix, make, makedepend

You can download the full list of components in my cygwin installation here.

Since the build scripts for OpenSSL on Linux make heavy use of symbolic links for header files, you should also turn on "Developer Mode" on your build and development host (which should be Windows 10 10.0.15063 or later), otherwise the build scripts cannot be executed successfully by a standard user. From Windows 10 10.0.15063 on, symbolic links can be created on Windows machines without administrative permissions if the box is running in "Developer Mode".

In the following I assume that cygwin is installed into c:\cygwin64. In case your installation directory is different, set an environment variable named "CYGWIN_PATH" that points to your installation directory of cygwin prior to invocation of my build scripts, or edit the file named createcfg.bat among the script files in the zip for this article and set the value of "INTERNAL_CYGWIN_PATH" in this file to your cygwin installation path.

I further assume that the NDK that comes with Visual Studio 2022 is installed in c:\Microsoft\AndroidNDK\android-ndk-r23c. In case it is someplace else, set an environment variable named "OPENSSL_ANDROID_NDK_ROOT" that points to your NDK installation prior to invocation of my build scripts, or edit the file named createcfg.bat among the script files in the zip for this article and set the value of "INTERNAL_OPENSSL_ANDROID_NDK_ROOT" in this file to your NDK installation path.

In  order to build version 3.1.4 of OpenSSL for Android first download this zip file containing my scripts onto your Windows box with Visual Studio 2022 and the native Android build tools installed. Unpack the file into a directory and a subdirectory named "androidopenssl3.1.x" will be created. Open a command prompt and navigate into this directory. Now download version 3.1.4 of OpenSSL here (in case this link doesn't work, try this one which should point to the archive of old builds) and copy it into that directory as well.

After all that, run the build.bat batch file within the command prompt and sit back. On my Ryzen 5 5600X it takes something like 25 minutes to build the whole shebang. You will find 4 subdirectories (arm, arm64, x86 and x86_64) for the 4 supported processor architectures that each contain a directory with the name of the openssl file name (without the extension tar.gz, so in case of version 3.1.4 of OpenSSL this directory name is "openssl-3.1.4"). Within that directory you will find libssl.a and libcrypto.a built for the corresponding processor architecture.

In case you would want to build dynamic libraries as well, edit the file buildplatform.sh and remove "-no-shared" from the configure options.

And finally: If you want to build a newer version of OpenSSL than 3.1.4, download its tarball into the directory where you unpacked the build scripts and change the value of "OPENSSL_VERSION" in createcfg.bat from "openssl-3.1.4" to the name of your tarball (but without the extension ".tar.gz"). Do the same for "ANDROID_API" (which is set to the value 23 in my scripts) if you want to target a different Android API version than 23.

 The license for these shell scripts of mine is the same as for OpenSSL, so nothing should change for you.


Building OpenSSL 3.1.3 for iOS and iPadOS

In order to keep up-to-date I have  rewritten my scripts for an OpenSSL build for iOS/iPadOS. You can find them here and here. Download these files into an empty directory on your Mac and add a decent OpenSSL tarball into this  directory. After that execute

chmod +x build.sh

in this directory followed by

./build.sh

In case you want to build a newer or different version of OpenSSL 3.1x, edit build.sh and change the value for OPENSSLVERSION on line  4 which currently looks like this:

OPENSSLVERSION=openssl-3.1.3

 Change this line to the file name of your tarball without the trailing .tar.gz extension.

I do not know if these scripts also work on an ARM based Mac, I am still working with an Intel based Mac running Mac OS Ventura with XCode  14.3.1. These scripts only build libraries for the two remaining processor architectures relevant for iOS/iPadOS today: x64 and arm64.

The license for these shell scripts of mine is the same as for OpenSSL, so nothing should change for you.


:: Next >>

Free Blog Themes and Free Blog Templates